
Troubleshoot and Overcome Your GPU Upgrade Concerns with Intel's Advanced Arc Pro B70 and B65 Graphics Solutions.
🛠️ Why is this happening
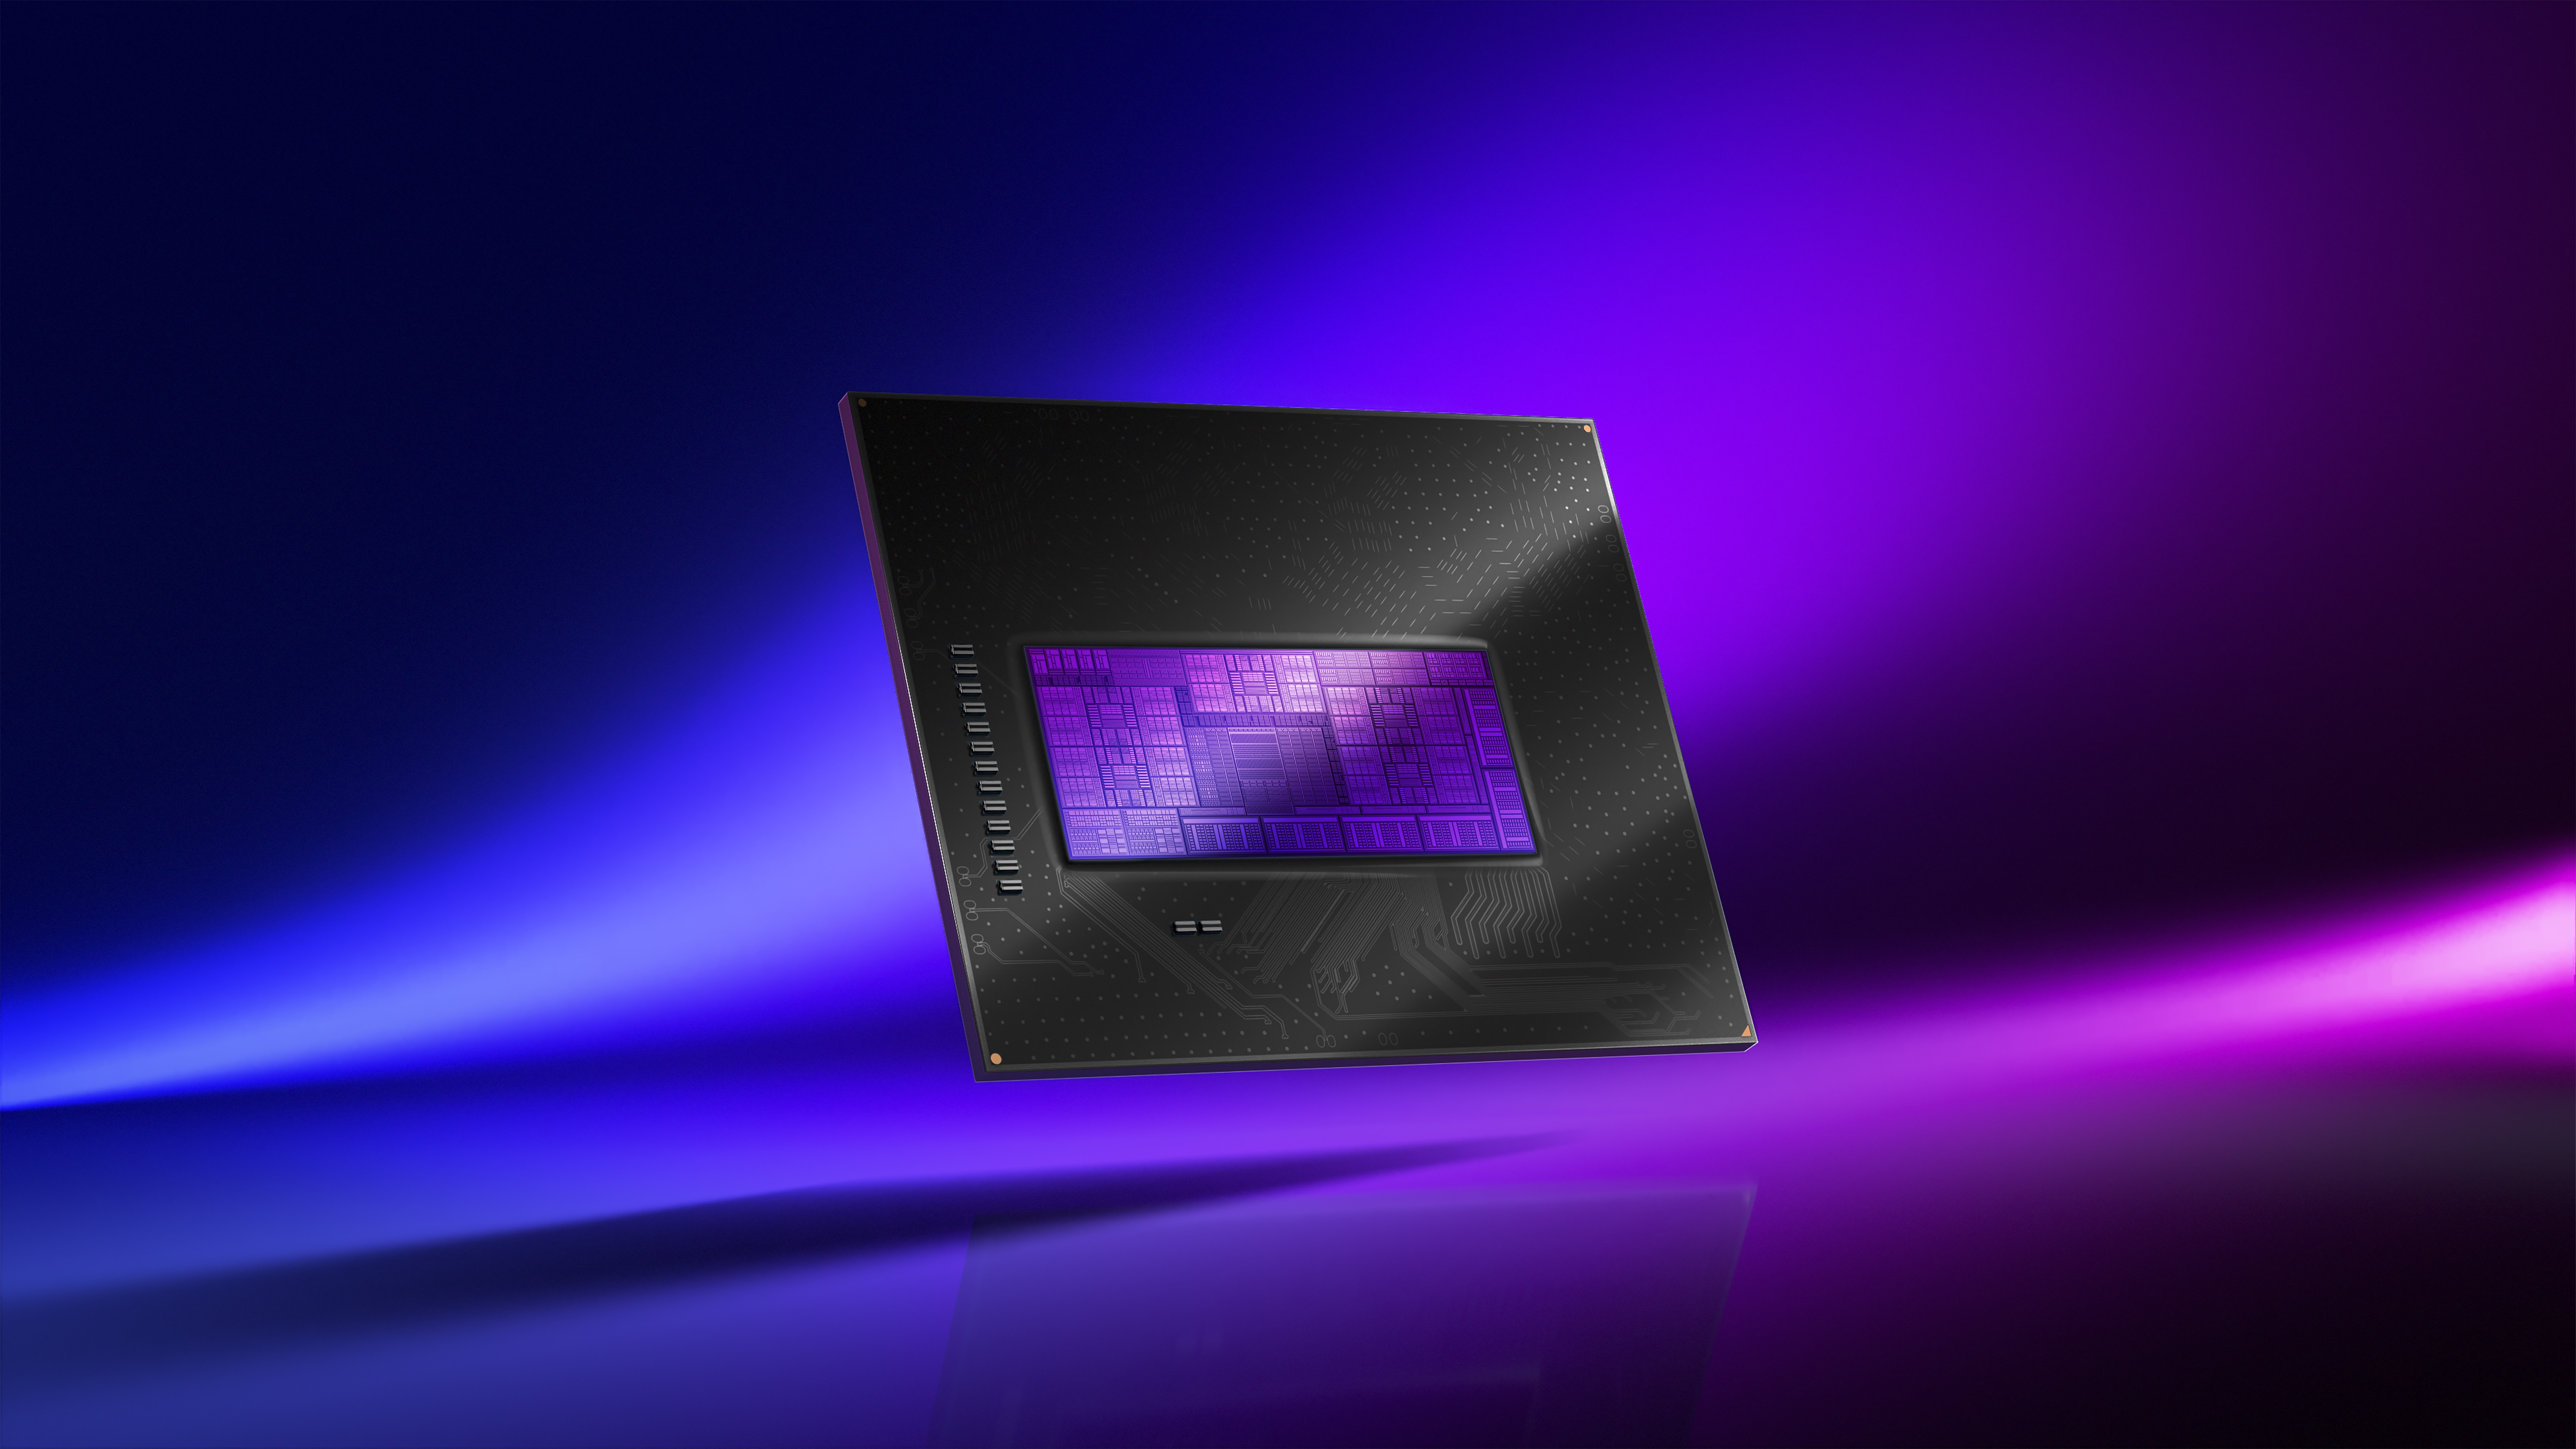
The recent introduction of Intel's high-end Arc Pro B70 and B65 graphics processing units has sparked a lot of curiosity among users about the best way to revamp their systems to maximize the capabilities of these cutting-edge cards. Look, These graphics processing units boast an impressive 32 GB of memory and 367 trillion operations per second for AI, poised to transform the industry's approach to graphics and AI. The transition to modern graphics cards can be a complex and overwhelming process for individuals unfamiliar with the intricacies of computer hardware. One of the primary problems stems from the fact that numerous individuals struggle to correctly install and optimize their freshly purchased graphics cards to maximize their performance. Frustration and discontent can arise in individuals who lack a solid understanding of GPU installation procedures, potentially leading to a negative experience. Additionally, the expense of these cutting-edge graphics processing units can make the idea of upgrading all the more overwhelming. If we want to alleviate these worries, we have to familiarize ourselves with the essential steps involved in installing and configuring a GPU. I mean, To cut through the noise, we need to break down the complexities of GPU selection by understanding their different types, matching them with our system specs, and then walking through the step-by-step process of installation and setup. To achieve a hassle-free and successful upgrade to their Intel Arc Pro B70 or B65 GPU, users must meticulously follow established protocols and implement protective measures.

✅ Step-by-Step Fix
In resolving potential concerns with your GPU upgrade and unlocking the full potential of your Intel Arc Pro B70 or B65 graphics processing unit, you'll need to carefully follow these step-by-step instructions outlined below.
- Before installing your new graphics card, make sure you've got a reliable power source and a cooling system that's up to par. Look, This includes checking your power supply unit (PSU) to ensure it can handle the increased power requirements of the new GPU
- Step 2: Uninstall your old GPU drivers and disable any unnecessary devices to prevent conflicts with the new GPU Believe it or not, This includes disabling any external graphics cards or devices that may interfere with the installation process
- Step 3: Physically install the new GPU into your system, taking care to handle the card by the edges and avoid touching any sensitive components Believe it or not, This includes removing any protective covering from the GPU and gently inserting it into the PCIe slot
- Step 4: Connect the necessary power cables to the GPU, including any 6-pin or 8-pin power connectors This includes ensuring that the power cables are securely connected to both the GPU and the PSU
- Step 5: Install the new GPU drivers and software, including any necessary updates or patches This includes downloading the latest drivers from the manufacturer's website and following the installation instructions carefully
- Step 6: Configure your system settings to take full advantage of the new GPU, including setting the GPU as the primary graphics device This includes adjusting the graphics settings in your operating system and ensuring that the GPU is properly recognized by your system
- Step 7: Test your system to ensure the new GPU is functioning properly, including running benchmarks and stress tests to verify performance This includes monitoring your system's temperatures and power consumption to ensure that everything is running smoothly
💡 Pro Tips to avoid this
To avoid common pitfalls and ensure a smooth GPU upgrade process, follow these pro tips:
- Always handle your GPU by the edges to prevent damage to the sensitive components on the card
- Use an anti-static wrist strap or mat to prevent static electricity damage to your GPU or other system components
- Ensure your system has adequate cooling to prevent overheating and damage to your GPU or other components
- Regularly update your GPU drivers and software to ensure you have the latest features and security patches
- Monitor your system's power consumption and temperatures to ensure everything is running smoothly and within safe limits
🎯 Final Thoughts
Upgrading to a new GPU can be a daunting task, but with the right guidance and precautions, it can also be a rewarding experience The Intel Arc Pro B70 and B65 GPUs offer unparalleled performance and features, making them an excellent choice for anyone looking to upgrade their system By following the steps outlined in this tutorial and taking the necessary precautions, you can ensure a successful upgrade and get the most out of your new GPU Remember to always handle your GPU with care, keep your drivers and software up to date, and monitor your system's performance to ensure everything is running smoothly Honestly, With the right approach, you can unlock the full potential of your new Intel Arc Pro B70 or B65 GPU and take your graphics rendering and artificial intelligence capabilities to the next level